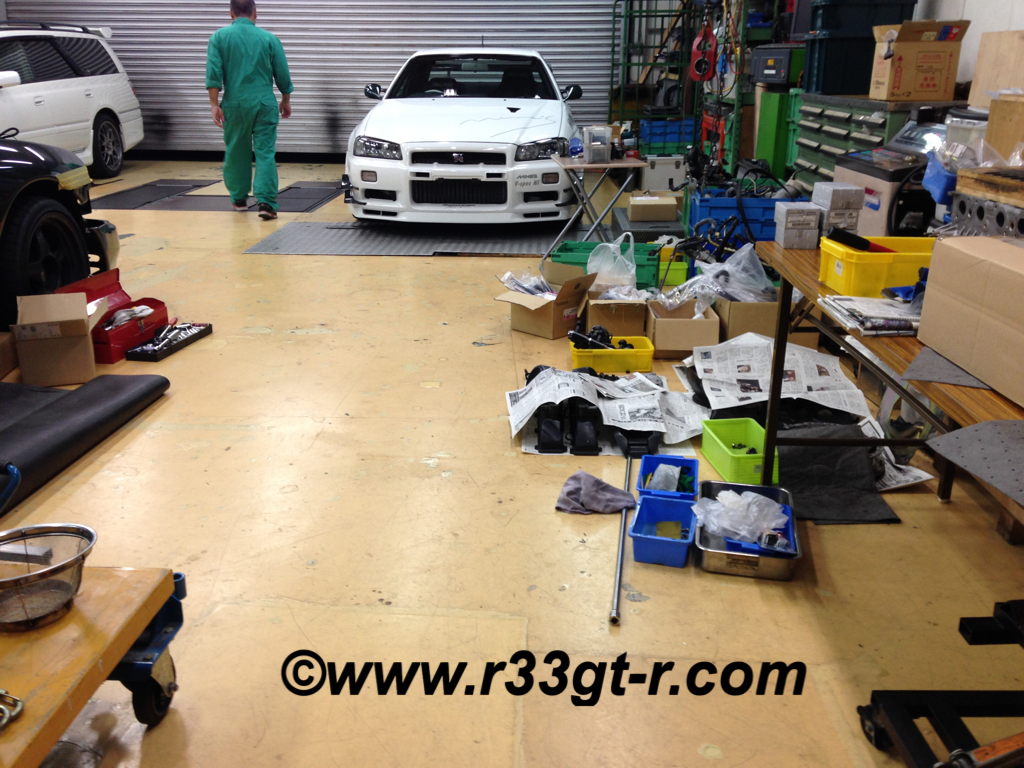
So I took a day off today as I had some errands to run and stopped by Do-Luck again as they are only 5 minutes away from where I live.
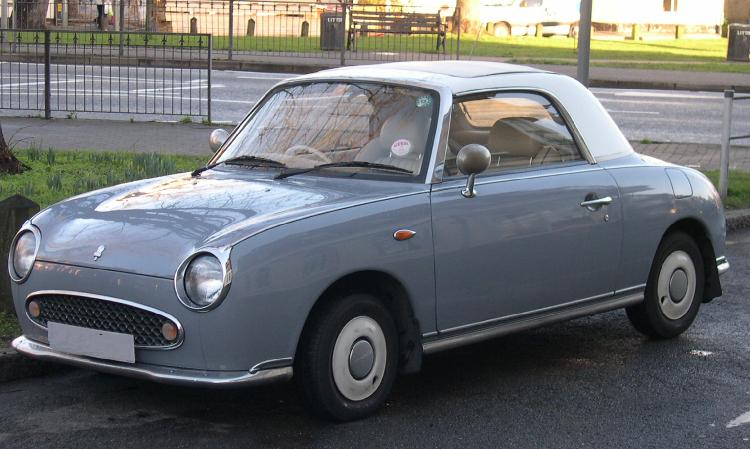
![]() |
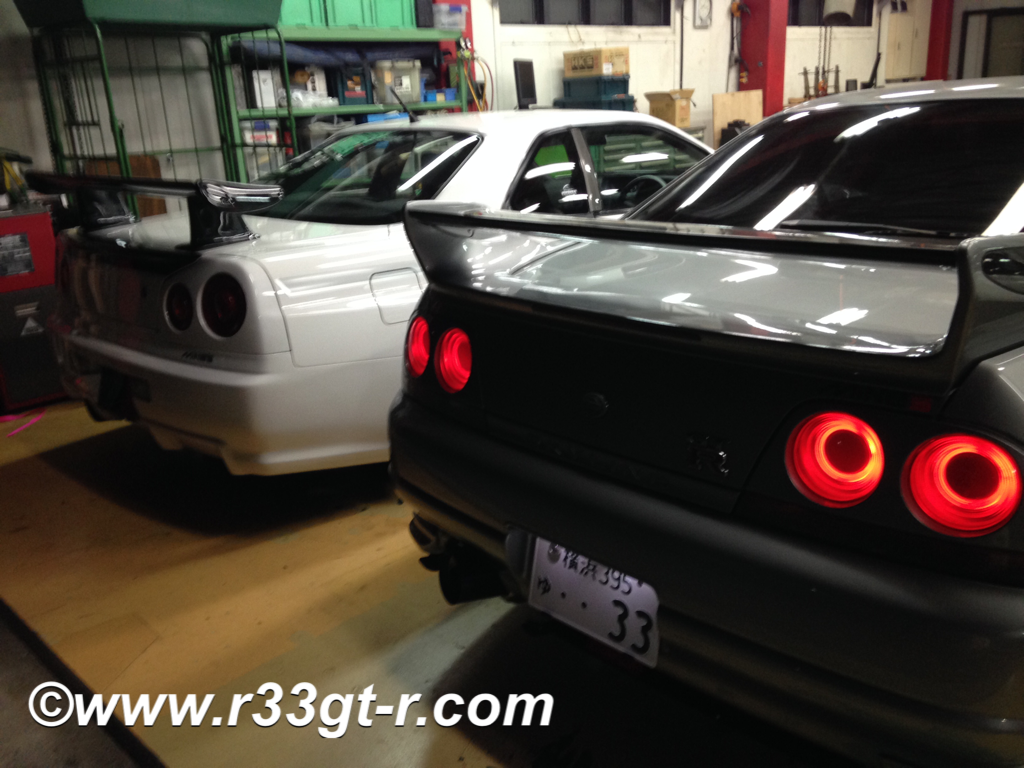
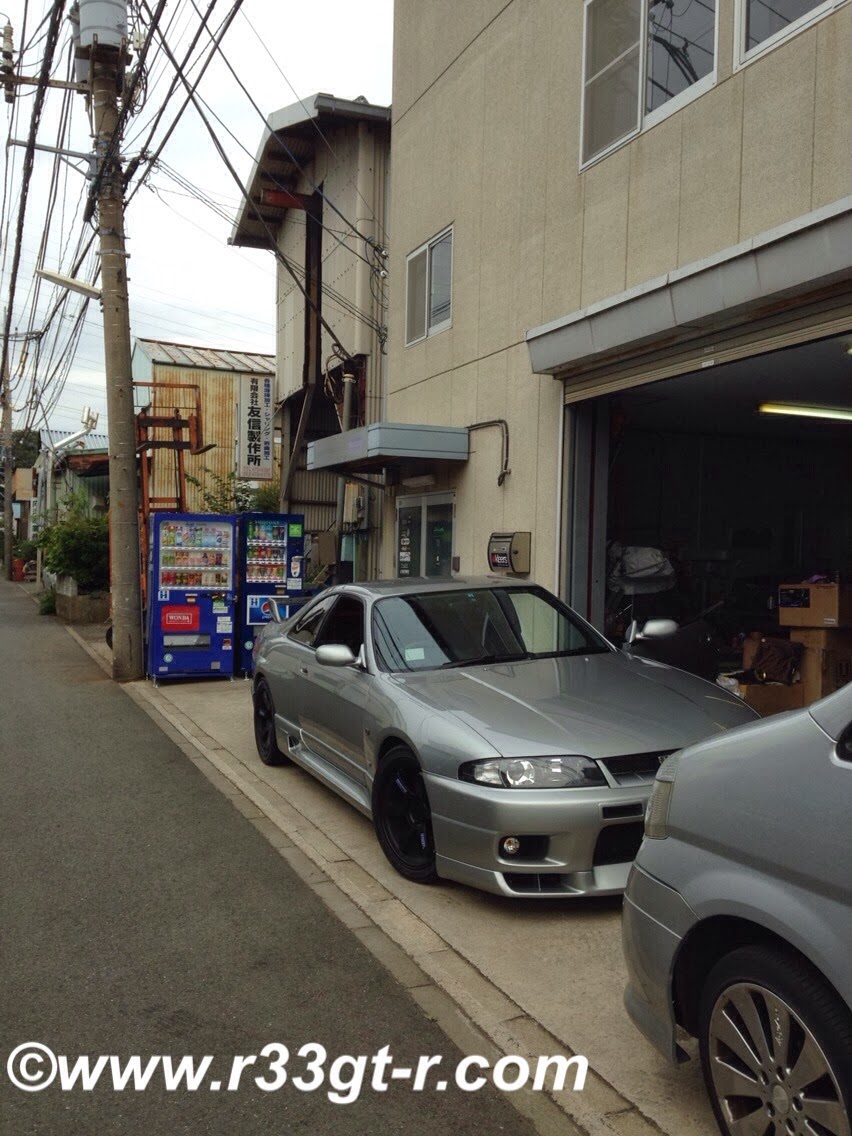
| Looks clean as usual, right? Unfortunately not underneath!! |
They have a new product which I've been interested in for since its release a few months ago - their new roll center adjusters. Actually, ever since I lowered my car by fitting the complete Nismo link set, I've studied, read up on, and been told that ideally the car should have some roll center adjusters. I've been meaning to do so, but other stuff kept me distracted.
Here is a well written site which explains what they do, if you need a refresher like I did.
Moonface is probably the Japanese company best known for their roll center adaptors. Here is a photo of the kit for the BCNR33:
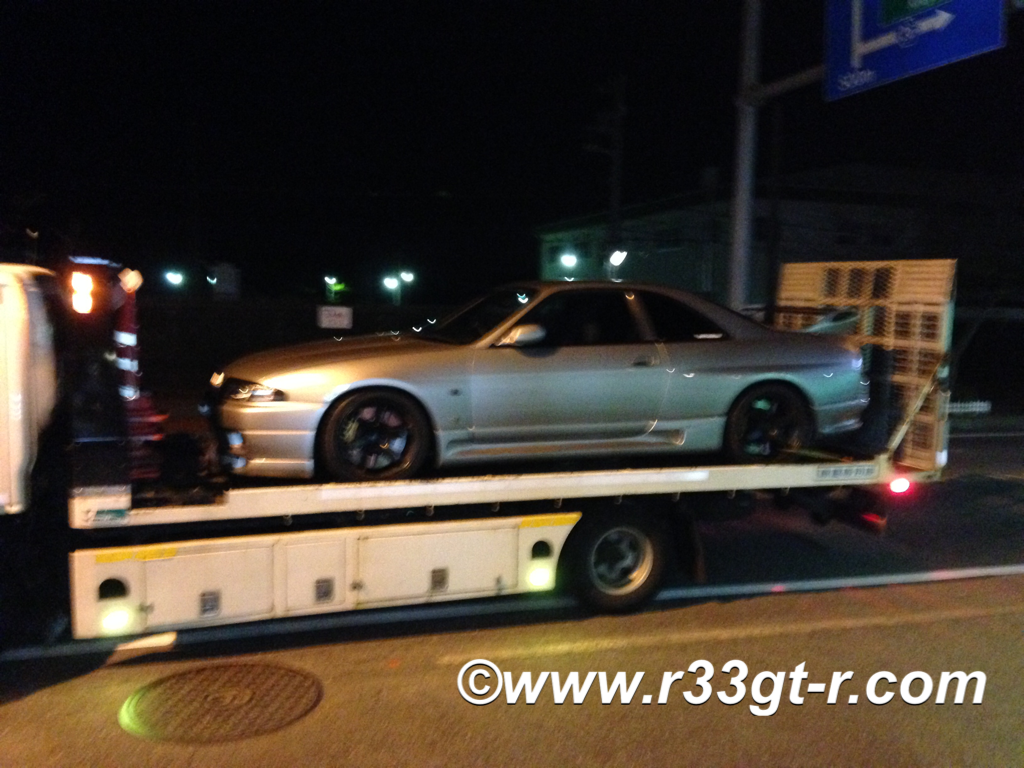
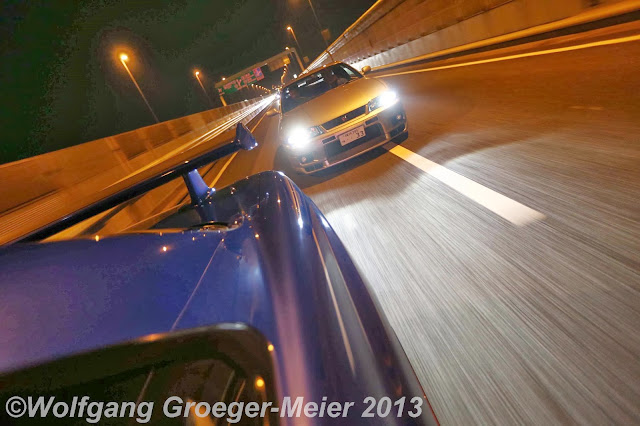
Do-Luck has, however, recently helped in the development of this very interesting R33 GT-R which Dino has
featured on Speedhunters:And as you can see from this video, it is a very, very fast car (his time here at Fuji Speedway is about the same as a GT race car):
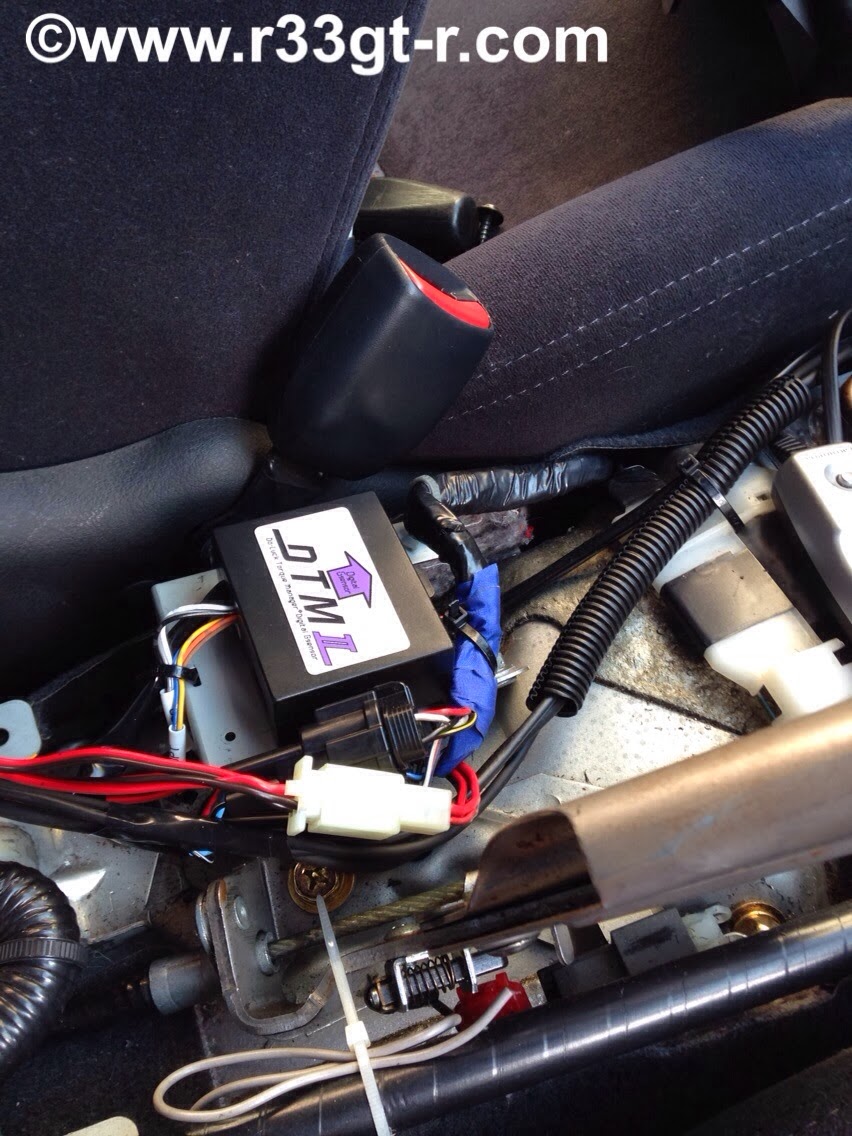
Anyway, this car runs Do-Lucks's new
Roll Center Adaptors, available for the R32, R33 and R34 GT-Rs:
Which you can tell, by looking at the shape, are not your typical roll center adjuster/adaptor. These work by not just restoring the angle of the lower arm (of a lowered car) to near horizontal/stock angles, but ALSO simultaneously work to restore the tie rods to their pre-lowered state. In fact these may be the first ones on the market to combine roll center adjusters and tie rod ends into one piece.
Further, these are designed specifically for cars still running the OEM arms and OEM tie rods - in my case, I have the Nismo arm which is OEM shape but with stiffer bushes, and yes still the OEM tie rods. So perfect for my car!
Camber is increased another 1 degrees, and so with the Nismo links like me you end up with about 3.2 -3.5 degrees of camber.
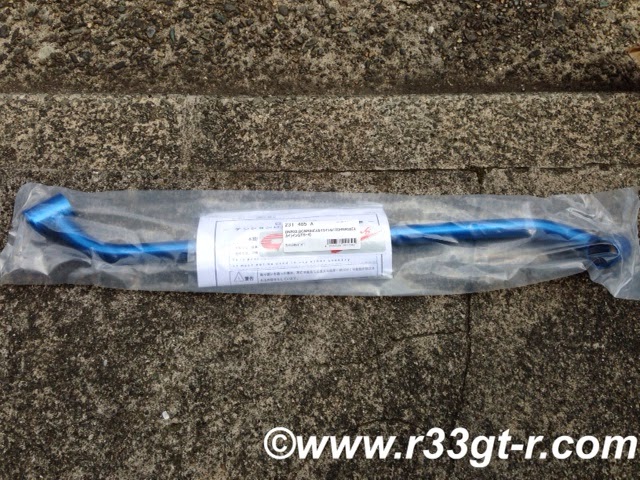
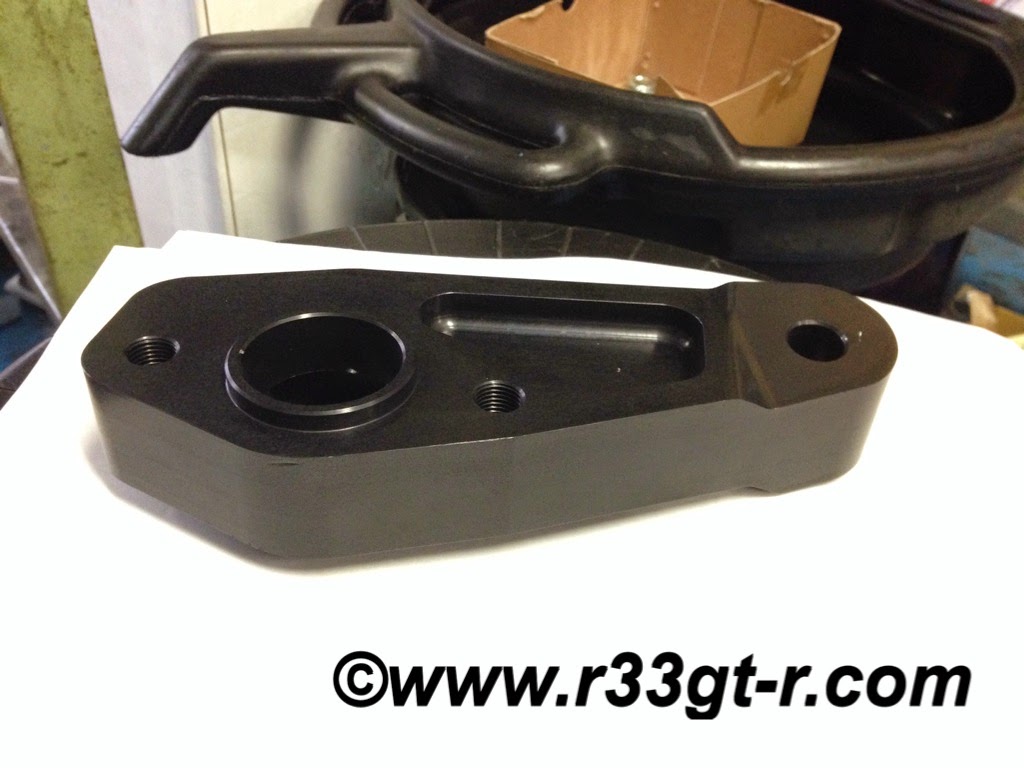
Do-Luck offers these S7075 duralumin items in two colors - the anodized silver above, or anodized black. I went for the black, simply because I thought it would stand out from the rest of the suspension pieces.
![]() |
| For the left side, facing up |
I actually took a bunch of photos as the install was happening, but having
driven my car most recently in a rainstorm and not having properly washed the under carriage, I am choosing not to embarrass myself with how dirty the car was underneath!
But as I discovered, the install was not as easy as it could have been - maybe for a DIYer with the proper tools, it would be possible. Basically, while it is obvious that the lower arm has to come off the hub, and the tie rod comes off of the hub piece as well, in my case, the brackets for R35 Brembos meant that fitment was a bit tight - necessitating removal of the driveshaft to make sure everything was bolted up properly tight. Then after it was all bolted and connected together, the alignment had to be redone as well.
Anyway - to get a better understanding of how and where it fits, here are some photos (and again, I am distraught about how dirty it is...)
Before (left side):
![]() |
| Looking from back to front - Circled in blue are the bits between which the Adjusters fit |
After (Right side):
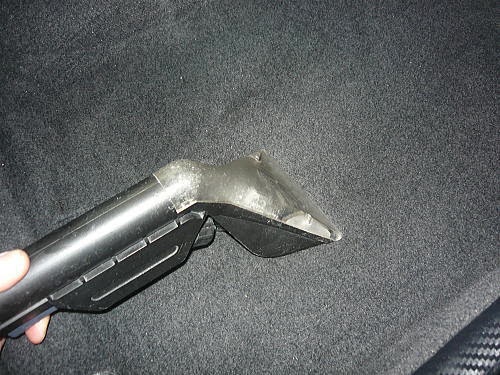
![]() |
| Looking from the front to back. Obviously the arm is not connected yet. |
![]() |
| Looking from the front to back. Circled is the adaptor installed. Note lower arm is now connected. |
![]() |
| Looking from back to front - you can see, circled in red, where the tie rod USED to be connected |
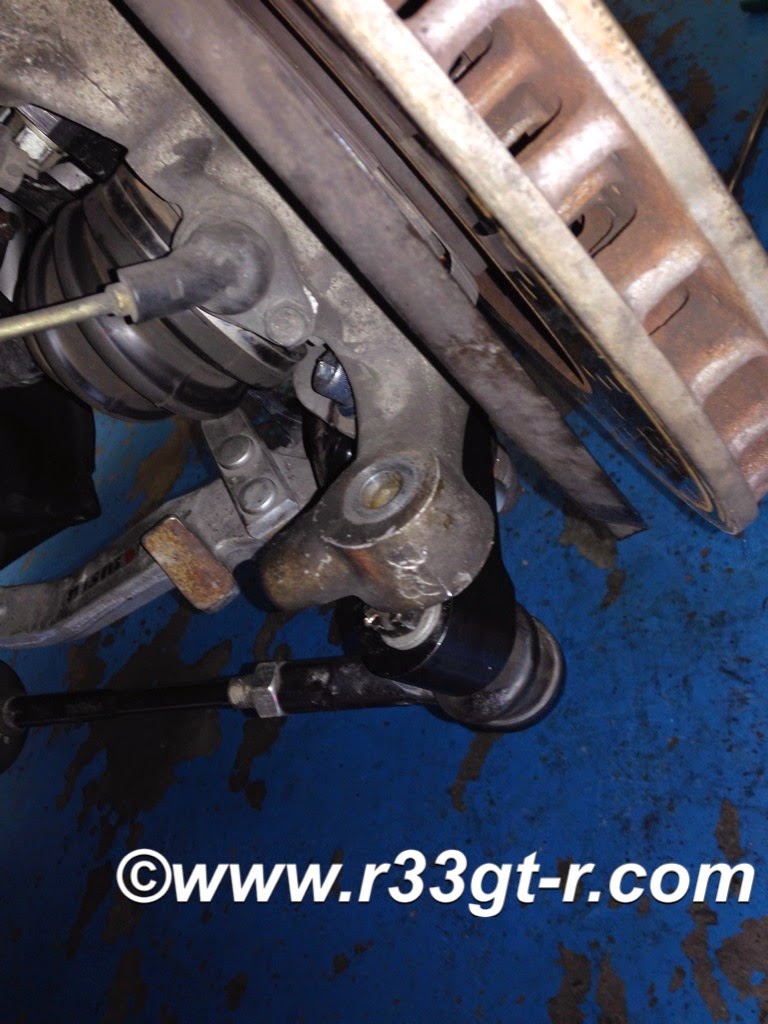
![]() |
| View from the top - you can clearly see the tie rod is no longer connected directly to the knuckle |
Driving Impression:
So after both sides were done, and the alignment fixed, I went for a spin.
The first thing I noticed was the steering felt lighter. Almost as if the power steering had gotten stronger, or the car itself lighter. Ito-san told me this is because the tie rods are no longer in the "Y" shape, they are more parallel with the ground. In fact this is, if I recall correctly, how the car felt BEFORE I lowered it.
I then noticed that the front wheels felt like they stuck to the road better because the car seemed to react a bit quicker than before, going left to right. In other words, the car felt more "flickable." Obviously, this is because the arms are also more parallel to the ground, and not doing the "Y" as can be seen in the
Megan Racing link.
Finally, my biggest issue - on center numbness - seemed to have improved. The zone (the angle of the steering wheel from left to on-center and then from on-center to right) over which the car feels relatively numb (remember I drove my friend's non-power steering NSX, which remains my personal benchmark) has shrunk substantially. But dead on center, the feel can STILL be improved to be honest.
So I am one step closer to obtaining the kind of handling, both in feel and in response, I want with my car. The more nimble handling (which I was told may actually make the car feel a bit jittery on bad roads), coupled with improved on center feel.
The only caveat I have is, these are expensive, with a retail price of 84,000 yen for the pair! Perhaps I should have done some more research, but how much of an advantage do we gain by utilizing one solid piece vs corrections at both locations (by using roll center adjusters and tie rod ends)? I guess one thing about high prices, however, is that likely not many people will have these on their car so it will add to the "bespoke" nature of my car.
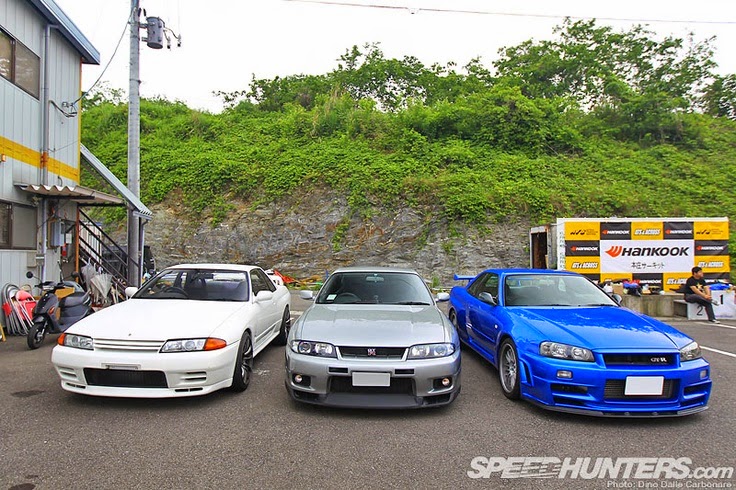
So what do you all think? Post a comment and let me know! (and yes, I know, I'm still working on the R32 vs R33/R33 trivia blog posts...thanks for your patience on those!)


wKBP4IeVW,K!~~60_57.JPG)